
Dyeing hemp with Black Walnuts.

Where I live in Southern Ontario, we have an abundance of Black Walnut Trees (Juglans nigra). Every fall, anywhere you walk you are bound to come across squirrels collecting, and dropping walnuts. Even without the help of the squirrels, as they ripen the walnuts drop to the ground. This is where I collect from. The abundance of them in my community also has friends leaving me large bags of walnuts taken from their yards.
Some people like to break open and separate the hulls from the nut inside, This is no easy task! I knew someone who would drive over them with his truck to remove husks! ( he was collecting for eating the walnuts. YES they are edible!)
I choose the path of least resistance, and use them whole!!
I have found the best way to store the walnuts for use during the winter months, is to freeze them whole. Im lucky enough to have a large chest freezer in my basement which I fill with dye plants!

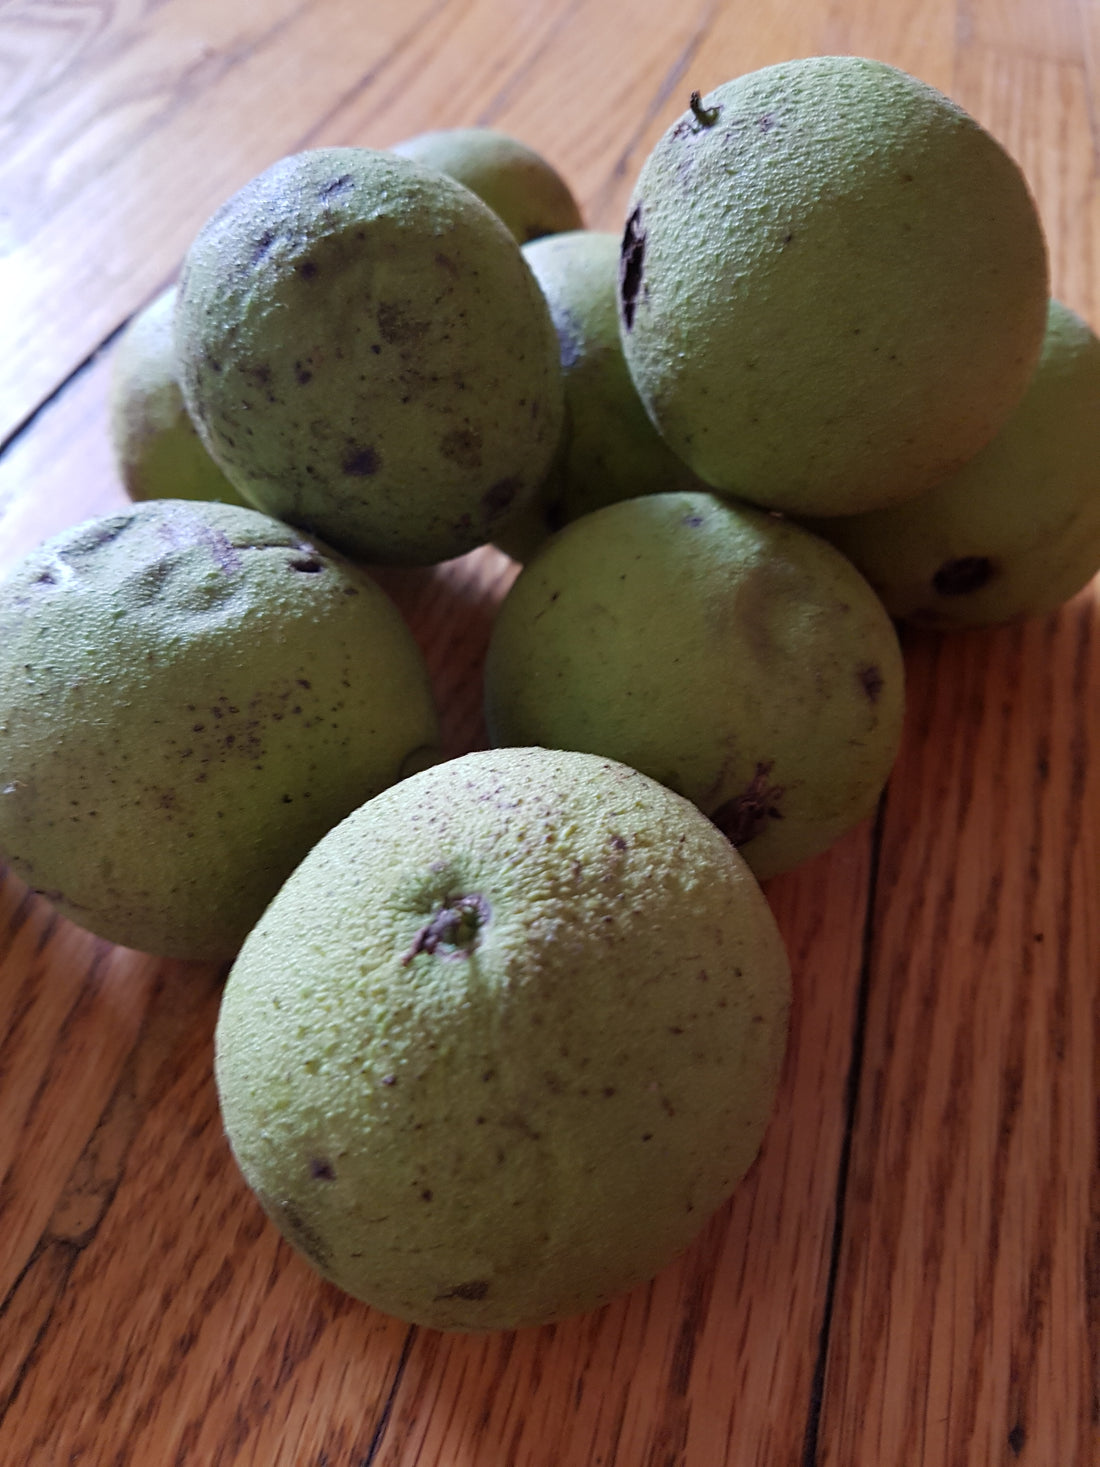
(frosty black walnuts pulled out of the freezer)
Usually for fresh plant material I will use 100% - 300% WOF.(weight of your dry fiber) With black walnut hulls because I am not separating the husk, the nuts add weight. But black walnut husk give such a strong dye to begin with I dont put too much worry into it. For this batch I weighed out the walnuts at 100% WOF.
Into a pot the green little balls go, cover with water and set aside for 48 hours. This time frame can be longer or shorter. If something comes up and you can get to your soaking walnuts, have no fear! Sitting longer just bring out more colour!.

I dont add too much water at this point, just enough for the walnuts to freely float around! After 2 or more days, add more water to you pot of soaked walnuts. This is your own preference. I soak my walnuts in the pot I will be dyeing in. So I will almost fill it up. As it boils, you'll loose some liquid.
Bring your pot of water and soaked walnuts to a boil, allowing it to simmer for at least one hour, then turn down the heat and keep just below boiling for another hour.
Turn the heat off and let sit over night.
Black Walnuts give the best dye with some patience. The more soaking and sitting the better the results in the end!

(You'll notice the walnuts have all turned dark brown and the water looks what my kids call FUNKY )
Now its time to strain the walnuts from the liquid. The husks will still have lots of dye to give off, You can put them in another pot , cover with water and start a new dye pot, or give them to the compost!
(beware the squirrels will be all over your compost, you've done alot of the hard work for them softening the outer layer!! )

(strained from the dye pot, still lots of dye left in this little mushy ball!)
At this point your dye is ready to go! If you need to add more water so your fibers will have enough room to move freely, do that before adding your fiber to the pot! If you don't realize that you need more liquid until after you've added your fibers, no worries!! Just add more and really give it all a good mix!

I'm dyeing a hemp/organic cotton canvas in this photo. The fabric has been scoured and pre-treated with alum as a mordant. Black Walnuts are very high in tannins and don't need to be pre-mordanted with anything further.
(I've had success dyeing cotton with no alum, you can experiment and see what changes with or without pre alum treatment).
If your dyeing with wools or silks there is no need to do anything but scour your fibers before dyeing.
Once you add your fibers bring it all up to a simmer for at least an hour. Stir the dye pot every so often so the dye has a chance to reach all parts of your fibers.
After an hour or so, turn off the heat and leave to cool. I will usually push all the fibers down so they are completely covered by liquid and leave over night.
Once its all cooled off you can remove your fibers and rinse in cool water. Since this batch is tied up, I spun the excess liquid out in my washer and unwrapped before rinsing.
After rinsing in cool water, hang up your fabric/fibers to dry, our of direct sunlight!. In the warmer months I have a clothing line out side under a tree to hand my plant dyed fabrics.

(rinsed and not ironed hemp dyed with Black Walnuts)
Black Walnut husks create a very light and wash fast dye. You can achieve shades from dark dark brown to lightish tan/pink. Continue using your dye pot to create lighter shades. If you add the used walnut hulls back in and boil again you strengthen the dye. a little goes a long way!
Over the years I have found that on cellulose fiber (cotton, hemp, linen) the colour isn't as dark brown as on protein fibers (wool, silk,) So if you're looking for a lighter brown on protein fibers I would suggest trying less hulls per WOF, or leaving the fibers in the dye bath for less time!.
Black Walnuts primary colourant is Juglone. The highest concentration of juglone is in the buds, hulls, nut and roots.. The leaves and stems contain juglones, but in less quantity! Walnut dye is very strong! I suggest wearing gloves, because it will for sure dye your fingers!
This summer/fall I plan on doing some leaf printing experiments with Black Walnut leaves!! Ill be sure to post about it!
As always, feel free to reach out with any questions or comments!! I love the exchange of plant dye knowledge!
Much Love! Julia.